
How to Install Orbis on KVM
This article explains how to install Orbis on Linux KVM hypervisor.
Prerequisities
This guide assumes that the customer has a working Linux installation with KVM hypervisor enabled and running. In this guide Ubuntu LTS 20.04 with default GUI is being used as an example but other Linux distributions work in a very similar manner.
Step 1 – convert OVA template into qcow2 format
Standard OVA template is not comprehensible for KVM hypervisor. Luckily it is just a .tar archive with virtual disks and it can be easily unpacked and converted into qcow2 format for KVM.
Open linux terminal and navigate to directory containing the Orbis OVA template.
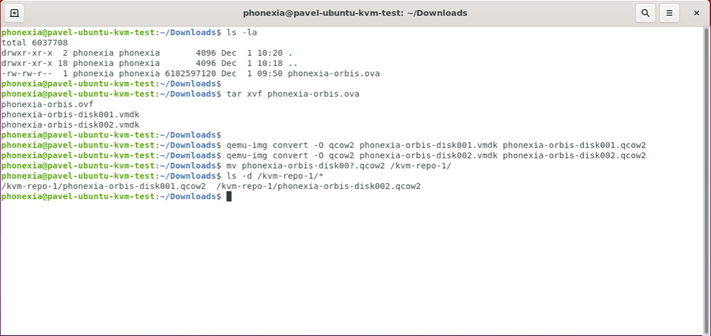
Extract the ova using tar command:
tar xvf orbis.ova
This will create 3 files – an .ovf file which can be safely removed and two virtual disks in .vmdk format.
Convert both virtual disks (.vmdk files) to qcow2 format using qemu-img command:
qemu-img convert -O qcow2 orbis-disk001.vmdk orbis-disk001.qcow2
qemu-img convert -O qcow2 orbis-disk002.vmdk orbis-disk002.qcow2
Move the resulting .qcow2 files to a desired directory where the resulting virtual machine should be stored. The following command is just an example:
mv orbis-disk00?.qcow2 /destination/directory
Below is a screenshot of the full process. Note that the .ova file name and .vmdk file names can differ slightly.
Step 2 – create a virtual machine from the first disk
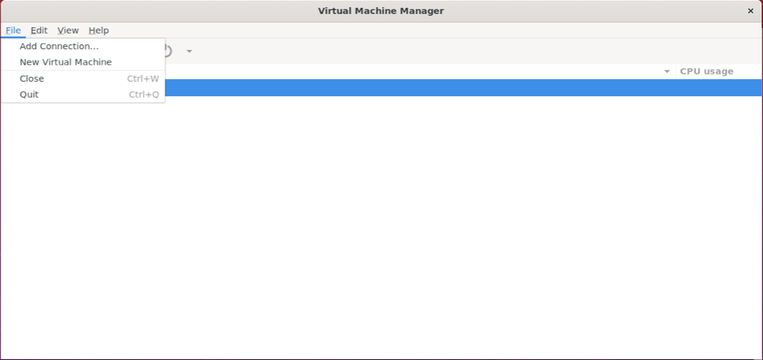
Open virt-manager – the management console for KVM hypervisor – and click File → New Virtual Machine.
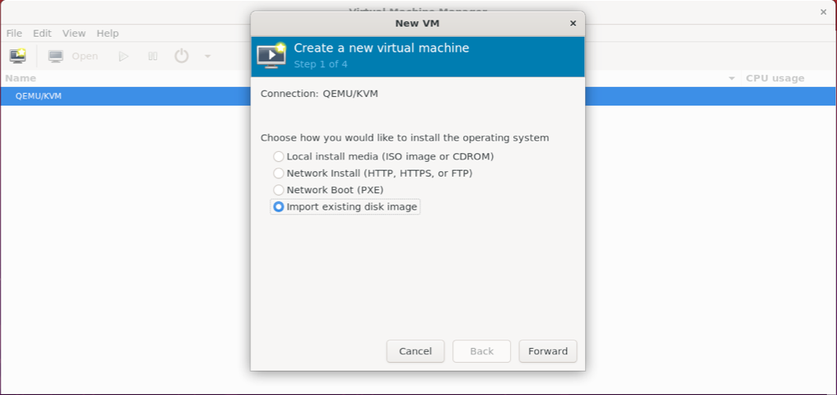
Select Import existing disk image and click Forward.
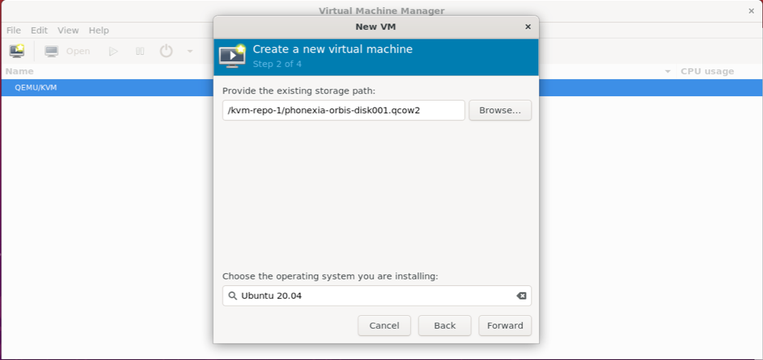
Insert the full path of the first qcow2 virtual disk as existing storage path and select Ubuntu 20.04 as the guest operating system and click Forward.
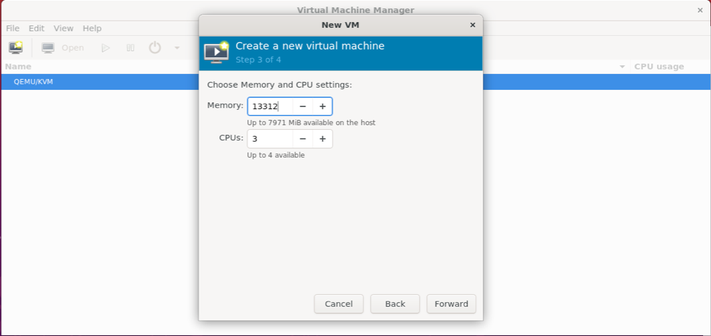
Select your VM’s memory and CPU settings and click Forward.
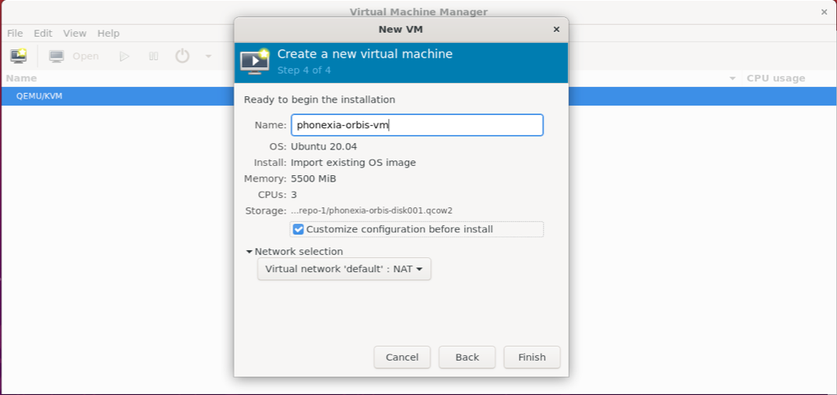
Type in the name of the new virtual machine and select Customize configuration before install. Click Finish to complete the wizard.
Upon clicking finish, a window with virtual machine hardware should appear. Do not start the virtual machine as of yet and proceed to the next step.
Step 3 – add data disk
At this point, we have an existing virtual machine with Ubuntu OS and Orbis application. In this step we are going to add a second virtual disk for storing data.
This second disk shall be persistent, which means that if we connect this disk to another Orbis instance with same or newer Orbis version, all customer’s data will be preserved. This arrangement is very useful for restoring from backup and updates.
We should already have a window with virtual machine hardware open. If not, double click on the newly created Orbis virtual machine and click the Show virtual machine hardware icon in the toolbar.
First, select the only existing virtual disk (VirtIO Disk 1 by default) and expand the Advanced options section. Make sure to change Disk bus from VirtIO to SCSI and click Apply.

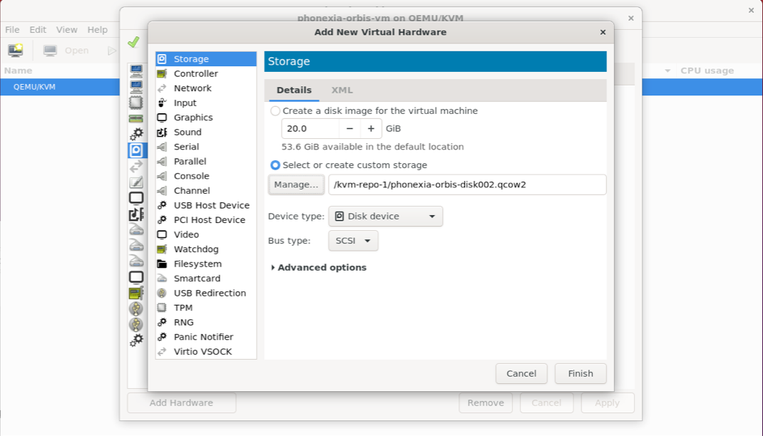
Then click the Add Hardware button in the bottom left corner and select Storage option on the left side. Click the Select or create custom storage option and enter the path to the second virtual disk. Make sure the Bus type is set to SCSI.
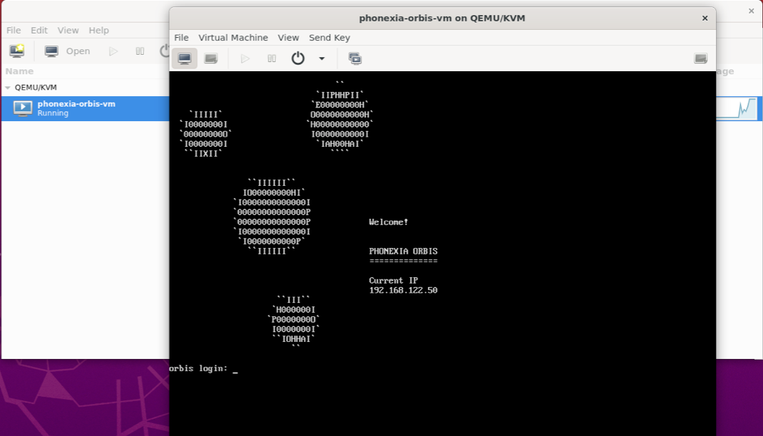
Click Finish to return to virtual hardware overview. Click Begin installation in the upper left corner. The virtual machine should start automatically when the process is complete. If it doesn’t, power it on manually. After the machine boots, a login screen should appear with Phonexia logo and obtained IP address.
Step 4 – access Orbis web interface
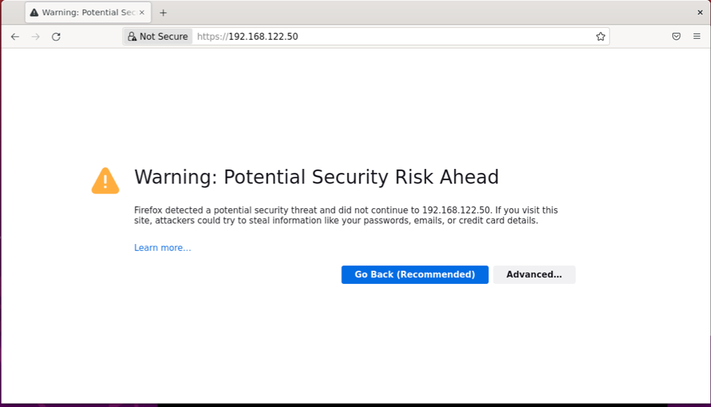
Open a web browser and use the IP address obtained in the previous step as an address. Approve the default SSL certificate.
Orbis web interface should then appear. The installation process is now complete.
